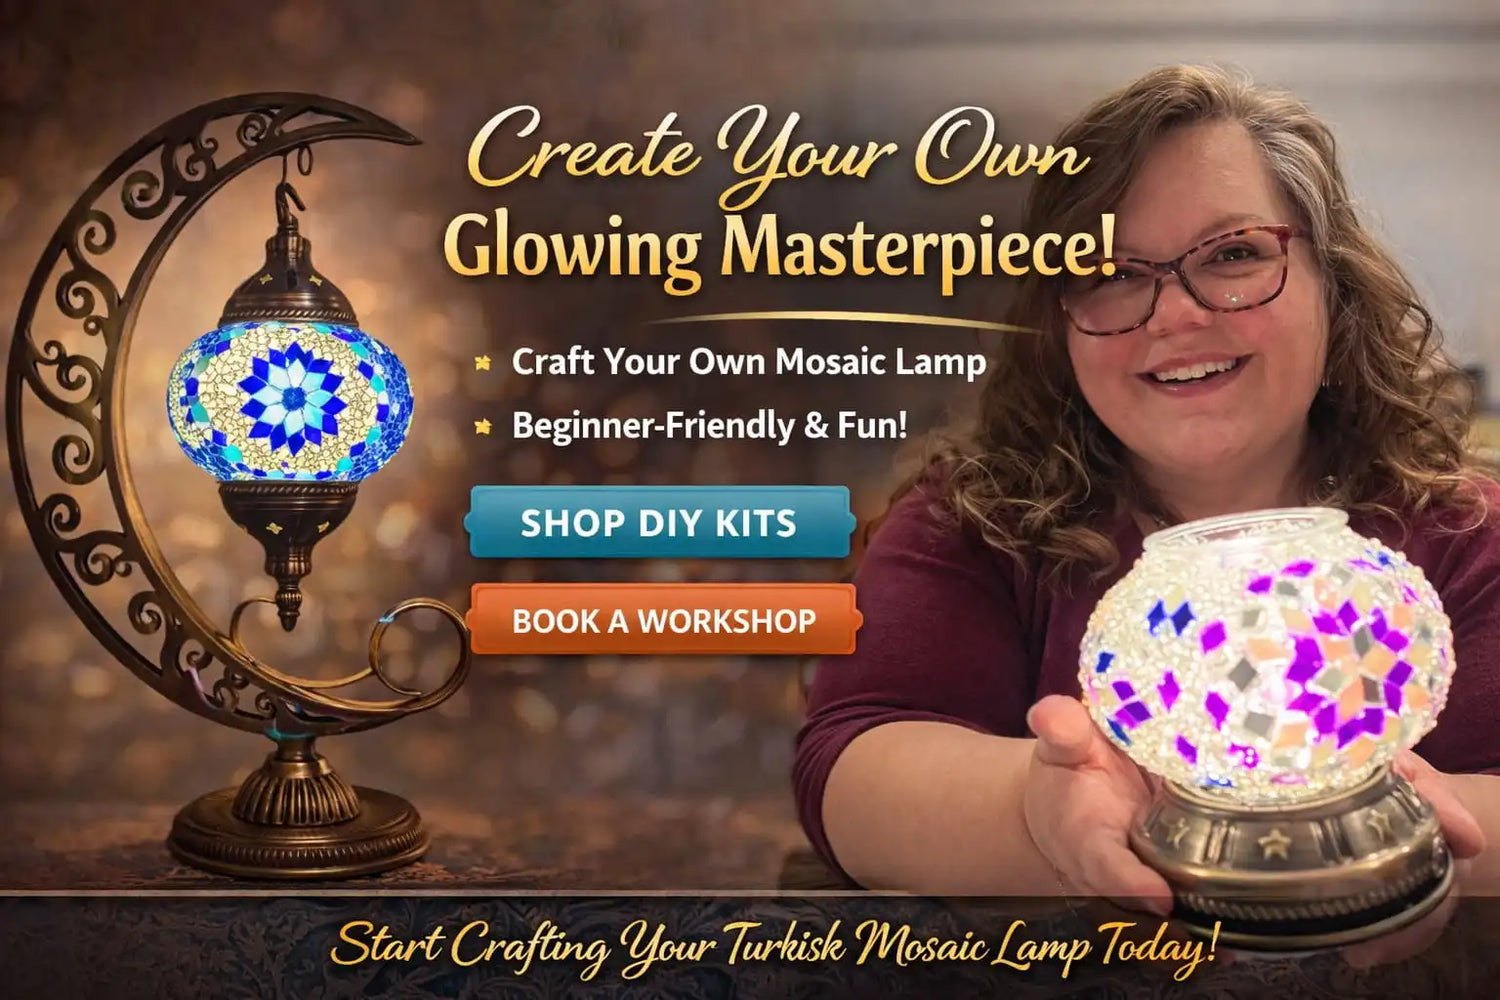
Looking for a relaxing and creative project you can enjoy at home? A diy mosaic lamp is one of the most rewarding art projects for beginners and experienced creators alike. Combining color, pattern, and warm ambient light, a traditional Turkish mosaic lamp transforms simple glass pieces into a glowing work of art.
How to Create a DIY Turkish Mosaic Lamp: The Ultimate Step-by-Step Guide

Whether you're exploring creative hobbies for adults, searching for a meaningful handmade gift, or simply upgrading your home decor, this ultimate guide will teach you exactly how to craft a stunning mosaic lamp from start to finish. We have compiled all the expert tips from our professional Pedalisa Art studio instructors to ensure your DIY project is a brilliant success.
Guide Overview
Why Choose a DIY Mosaic Lamp?
A mosaic lamp tutorial isn’t just about assembling glass pieces—it’s about slowing down and engaging in mindful creativity. Mosaic art has centuries of history rooted in cultural craftsmanship. Unlike many craft trends that fade quickly, mosaic lamp making results in a functional piece of handmade home decor.
- Beginner-friendly process with no advanced artistic skill required
- Highly therapeutic and meditative
- Reduces stress and improves focus
- Creates long-lasting, functional decor for your home

Materials You’ll Need
To create your own glowing masterpiece, it is essential to have the right supplies. While you can source items individually, finding authentic, heat-resistant Turkish glass can be challenging.
Inside a Premium DIY Kit
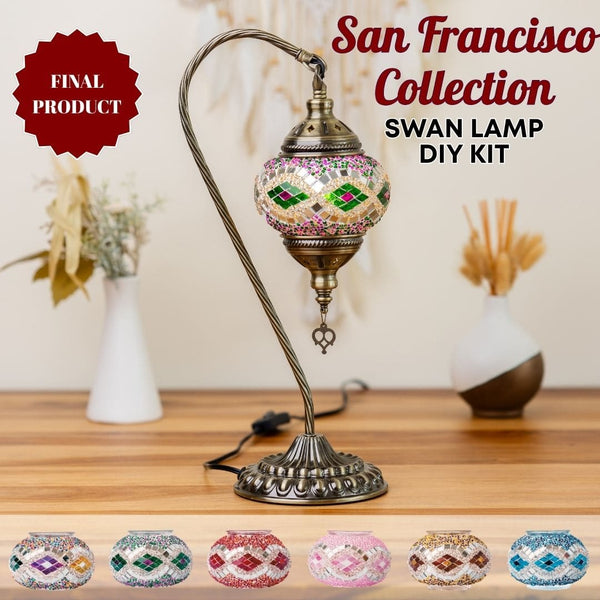
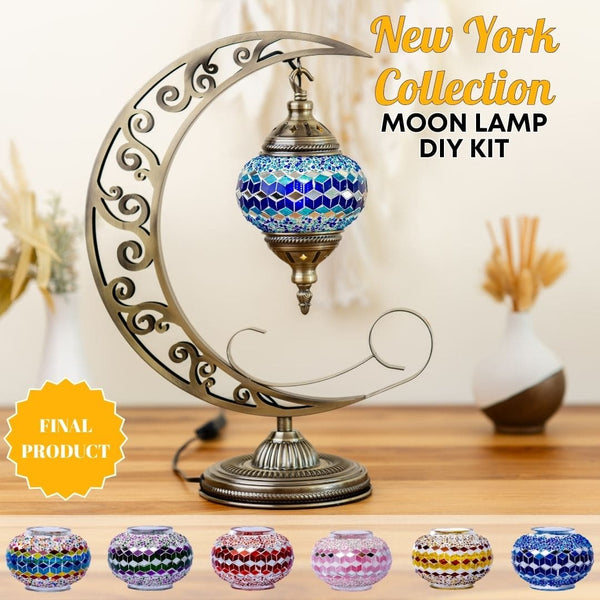
To make the process seamless, we highly recommend using a complete Turkish Mosaic Lamp DIY Kit. A high-quality kit includes:
- A clear, heat-resistant glass globe
- Pre-cut, colorful geometric glass tiles (rhombus, triangle, square)
- Vibrant glass seed beads
- Specialized, clear-drying silicone adhesive
- Joint grout mixture and a sponge
- The brass-finished metal lamp base, cord, and LED Bulb

Ready to Start Crafting? 🎨
Skip the hassle of finding individual supplies. Our all-in-one Pedalisa Art DIY Kits include premium Turkish glass, professional glue, and beautiful metal bases shipped directly to your door.
Shop DIY Lamp Kits NowStep-by-Step: Creating Your Turkish Mosaic Lamp

Plan Your Geometric Design
Traditional Turkish mosaic lamp patterns often include symmetrical geometric shapes like stars or tulips. Before applying adhesive, experiment with your layout on a flat surface. You can choose bold reds and golds for warmth, or blues and greens for a calming effect. Having a clear vision makes the gluing process much more relaxing.
Apply the Adhesive & Glass Tiles
Apply a thin layer of the provided silicone glue to a small section of the glass globe (usually starting in the center). Work in sections to prevent drying before placement. Carefully press each glass tile into place, leaving a tiny gap (about 1-2 millimeters) between tiles—these will later be filled with grout.
Add Decorative Beads
Glass beads enhance the intricate detail typical in mosaic lamp making. Once your large patterns are set, apply a generous layer of glue to the empty, clear spaces on the globe. Sprinkle or press the tiny beads tightly into the glue to create texture and sparkle.
The Grouting Process
Allow the adhesive to cure fully (usually overnight) before applying grout. Mix your grout powder with water until it reaches a toothpaste consistency. Spread the grout evenly over the entire surface, filling all the gaps between the glass pieces.
Final Polish & Assembly
Wait 10-15 minutes for the grout to semi-dry, then gently wipe the excess grout off the glass surface using a damp cloth. Once completely dry, give it a final polish to reveal the vibrant colors. Assemble the globe onto your brass base, plug it in, and enjoy your masterpiece!

Common Mistakes to Avoid
Avoiding these small errors will ensure your Turkish mosaic lamp looks professional and polished:
- Using the wrong adhesive: Never use hot glue (it melts from the bulb's heat). Always use silicone craft glue.
- Using too much adhesive: Excess glue can spread between tiles and reduce the clean look of your pattern.
- Skipping layout planning: Always test your design before gluing. Symmetry is key!
- Rushing the drying process: Always allow proper curing time (overnight) before applying the plaster/grout.
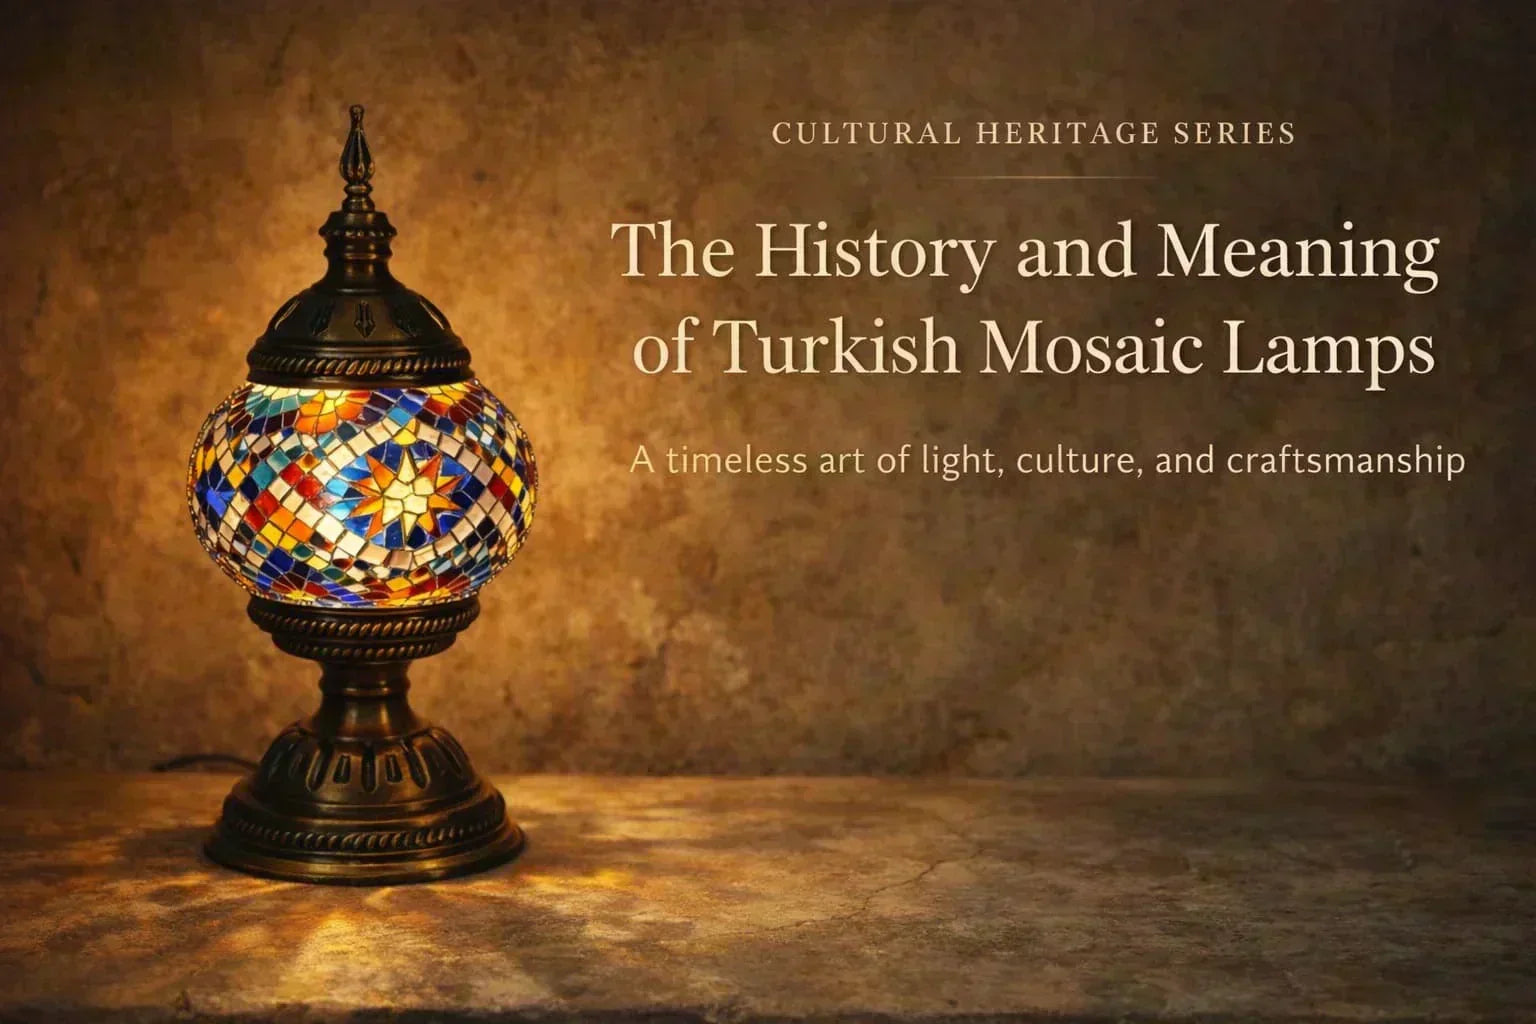
Inspiration, Styling & History
Curious about where this beautiful art form comes from? Dive into our guide on The History and Meaning of Turkish Mosaic Lamps.
Once your lamp is complete, placement makes all the difference! Explore our tips on How to style Turkish mosaic lamps in modern home decor.
Planning a celebration? A handmade lamp makes a memorable gift. Check out our curated list of 30 unique birthday ideas for creative inspiration.
Experience the Magic of Mosaics
Start your DIY mosaic lamp project today at home, or join a guided, fun workshop experience in our studio!

Frequently Asked Questions
Is mosaic lamp making difficult?
No! With a complete kit and clear instructions, it is highly beginner-friendly. It requires no previous art or crafting experience.
How long does it take to complete?
The active crafting time (gluing the tiles and beads) typically takes 2–3 hours depending on your design complexity. Grouting the next day takes an additional 30 minutes.
Is it safe to do at home?
Yes. With proper handling and the protective gloves provided in your kit (for the grouting phase), the process is completely safe and manageable for ages 7 and up.


